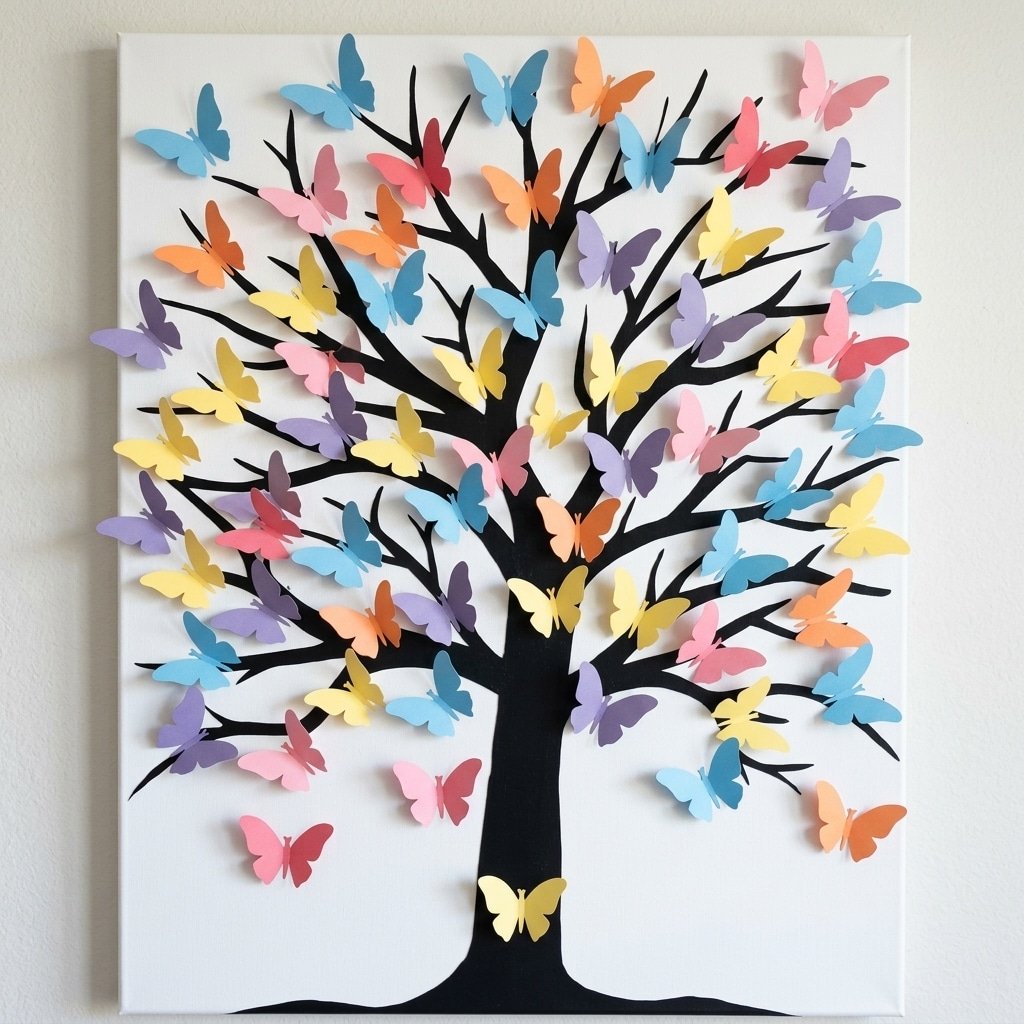
Butterfly Tree Wall Art is a stunning and creative way to transform a plain wall into a beautiful focal point. Combining the elegance of a tree silhouette with colorful butterflies creates a piece of art that symbolizes growth, freedom, and natural beauty. Whether you’re decorating a living room, bedroom, nursery, or hallway, this DIY project adds charm and personality to any space.
The best part is that you can create this wall art using simple and affordable materials while customizing the colors and design to match your home décor.
Why You’ll Love Butterfly Tree Wall Art
This project is popular among DIY enthusiasts because it is:
- Easy to customize
- Budget-friendly
- Perfect for beginners
- Suitable for any room
- A unique alternative to traditional wall décor
- Ideal for spring and nature-inspired decorating
The combination of delicate butterflies and an artistic tree design creates a peaceful and elegant atmosphere that instantly brightens a room.
Materials Needed
Before you begin, gather the following supplies:
- Cardstock paper or craft paper
- Butterfly templates
- Pencil
- Scissors
- Glue dots or double-sided tape
- Acrylic paint or vinyl wall decals (optional)
- Ruler
- Printable tree template (optional)
Choose colors that complement your room. Soft blues, lavender purples, blush pinks, and neutral tones work especially well for a modern and elegant look.
How to Create Butterfly Tree Wall Art
Step 1: Design the Tree
Start by sketching a tree trunk and branches on your wall using a pencil. Alternatively, use a tree wall decal or create the tree from black cardstock.
The branches should spread outward to allow space for the butterflies.
Step 2: Create the Butterflies
Trace butterfly templates onto colored paper and carefully cut them out. Make butterflies in different sizes to create depth and visual interest.
For a realistic 3D effect, gently fold the wings upward before attaching them to the wall.
Step 3: Arrange the Layout
Place the butterflies around the branches before securing them permanently. Some butterflies can appear to be flying away from the tree, creating movement and dimension.
Experiment with different arrangements until you find a design you love.
Step 4: Attach the Butterflies
Use glue dots or double-sided tape to secure each butterfly to the wall. Leave the wings slightly raised for a beautiful three-dimensional appearance.
Step 5: Add Final Details
Consider adding inspirational quotes, small flowers, leaves, or decorative accents to enhance the overall design.
Creative Design Ideas
Pastel Butterfly Tree
Use soft shades of blue, lavender, and pink for a delicate and elegant look.
Rainbow Butterfly Tree
Create a vibrant display using butterflies in every color of the rainbow.
Monochrome Design
Use different shades of a single color for a sophisticated modern appearance.
Nursery Wall Art
Choose soft pastel butterflies to create a calming and whimsical nursery decoration.
Seasonal Theme
Switch butterfly colors throughout the year to match spring, summer, autumn, or holiday décor.
Decorating Tips
- Position the tree where natural light can highlight the butterflies.
- Use varying butterfly sizes for a more realistic effect.
- Keep the design balanced by spacing butterflies evenly.
- Create a cascading effect with butterflies appearing to fly upward.
Benefits of DIY Wall Art
Creating your own Butterfly Tree Wall Art offers several benefits:
- Encourages creativity
- Personalizes your home
- Saves money compared to store-bought décor
- Provides a relaxing craft activity
- Creates a one-of-a-kind design
Handmade wall art often becomes a meaningful piece that reflects your personal style and creativity.
Frequently Asked Questions
Can I make this project without painting the wall?
Yes. You can create the entire tree and butterflies from cardstock or vinyl decals without making any permanent changes.
What type of paper works best?
Heavy cardstock works best because it holds its shape and creates a more realistic 3D effect.
How long does the project take?
Most Butterfly Tree Wall Art projects can be completed in one afternoon, depending on the size and complexity of the design.
Final Thoughts
Butterfly Tree Wall Art is a beautiful DIY project that combines nature-inspired design with creative expression. Whether you prefer soft pastel butterflies, bold colors, or elegant monochrome styles, this wall décor idea can transform any room into a warm and inviting space. With just a few basic materials and a little creativity, you can create a stunning piece of art that will be admired for years to come.