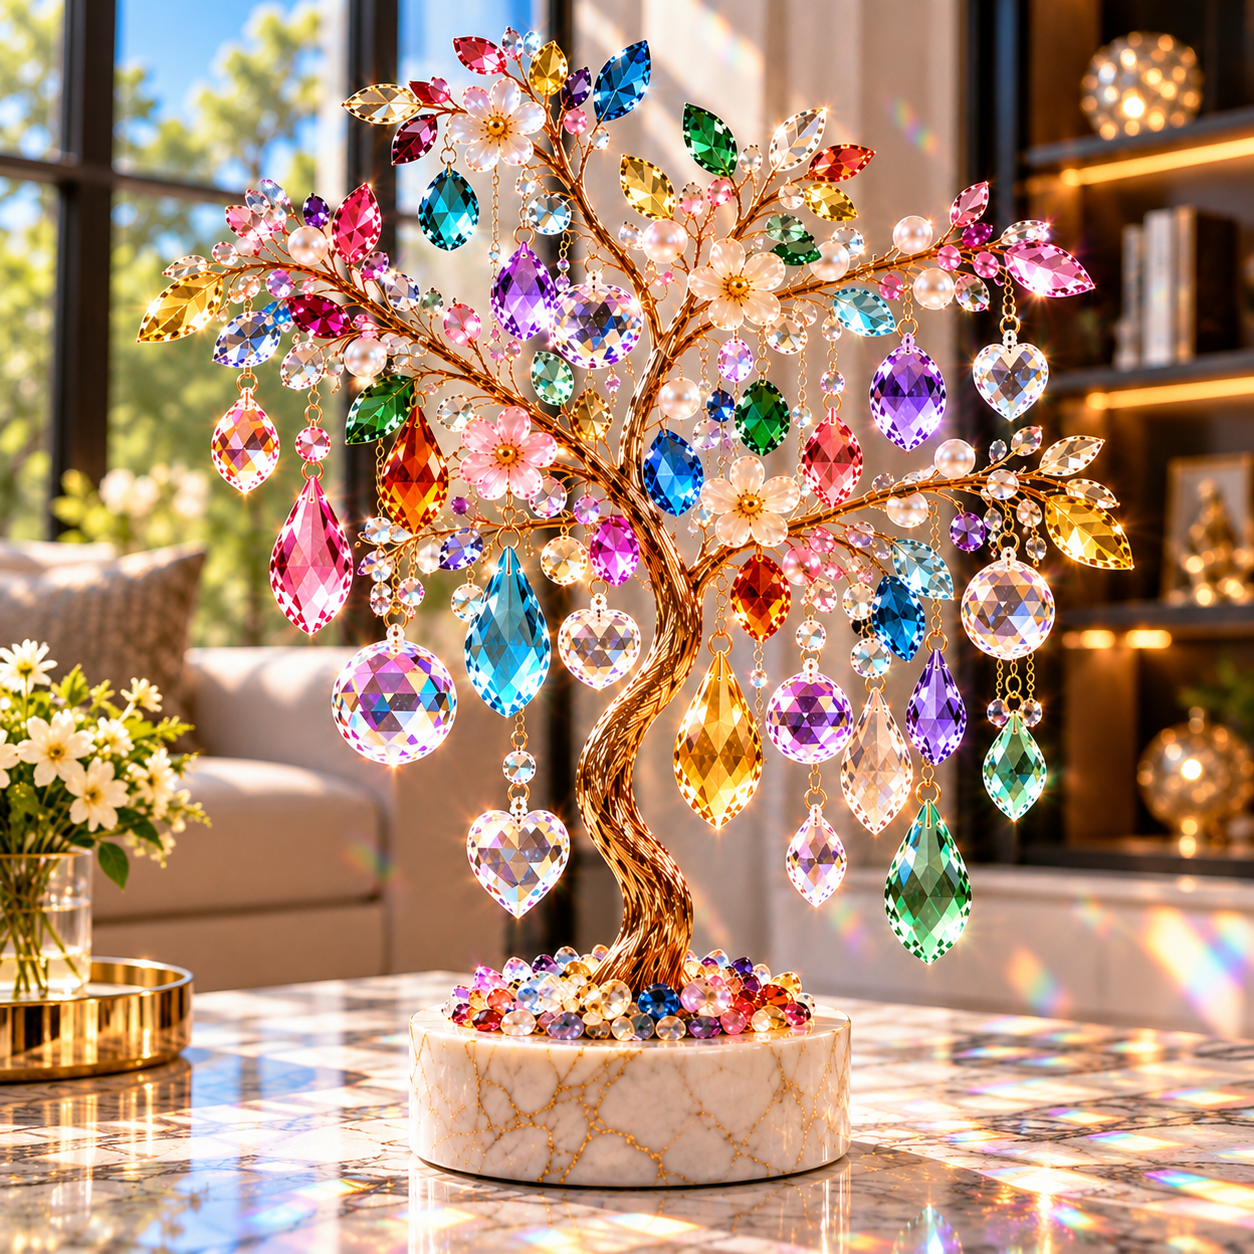
Add a little sparkle and color to your outdoor space with this beautiful DIY Beaded Wind Chime. Made with colorful beads, faceted crystal-style pendants, delicate flowers, pearls, and gold-toned wire, this handmade decoration catches the sunlight and creates gorgeous rainbow reflections.
This project is perfect for anyone who loves DIY garden decor, colorful crafts, boho decorations, and creative handmade projects. It can be customized with your favorite colors and charms to create a one-of-a-kind piece for a garden, porch, balcony, patio, or sunny window.
Why You’ll Love This DIY Beaded Wind Chime
There is something magical about decorations that sparkle in natural light. This project combines colorful beads with faceted crystals to create a beautiful light-catching effect.
You’ll love this craft because:
- It is colorful and eye-catching.
- It makes beautiful rainbow reflections in sunlight.
- You can customize the colors and decorations.
- It works beautifully as garden or patio decor.
- It is a creative handmade gift idea.
- It uses simple jewelry and craft supplies.
- It creates a beautiful Pinterest-worthy finished piece.
Materials You’ll Need
To make your own colorful beaded wind chime, gather:
- Wooden or metal hoop
- Colorful acrylic or crystal beads
- Clear faceted crystal beads
- Large teardrop crystal pendants
- Heart-shaped crystal charms
- Flower-shaped beads or decorative flowers
- Artificial leaves
- Pearl beads
- Gold-colored jewelry chain
- Gold craft wire
- Jewelry jump rings
- Eye pins
- Small decorative bells
- Jewelry pliers
- Wire cutters
- Strong craft cord or fishing line
- Small hanging ring or hook
- Optional: floral embellishments and additional charms
Choosing Your Colors
For a cheerful garden design, combine bright shades such as:
Pink + blue + purple + green + yellow + clear crystal
For a more elegant look, try:
Clear + champagne + gold + pearl white
You can also create a seasonal version using colors inspired by spring, summer, autumn, or winter.
How to Make a DIY Beaded Wind Chime
Step 1: Prepare the Hoop
Start with a lightweight wooden or metal hoop.
If you want a rustic appearance, wrap the hoop with natural jute rope. For a more glamorous design, leave the hoop natural or wrap it with gold-colored decorative wire.
Make sure the hoop is strong enough to support the hanging strands.
Step 2: Prepare the Beaded Strands
Cut several equal or different lengths of jewelry wire, strong cord, or fishing line.
Begin threading your beads onto each strand.
A beautiful combination can be:
Pearl → colorful bead → clear bead → gold bead → crystal pendant
Don’t make every strand identical. Different lengths will give the finished wind chime a more dynamic, cascading appearance.
Step 3: Add the Crystal Pendants
Attach faceted crystal pendants to the bottom of selected strands.
Large teardrop crystals work especially well because their faceted surfaces catch sunlight from different angles.
You can also use heart, flower, star, or round crystal shapes to create additional visual interest.
Step 4: Add Flowers and Leaves
Decorate some of the strands with small artificial flowers and green leaves.
Place them between the beads and crystals rather than adding flowers to every strand.
This creates a balanced design while keeping the crystals visible.
Step 5: Add the Bells
Attach small gold bells to several strands.
The bells add a traditional wind-chime detail while also giving the design a beautiful metallic accent.
For a softer look, use only a few bells and allow the crystals to remain the main focus.
Step 6: Attach the Strands to the Hoop
Attach each finished strand around the hoop using jump rings or secure knots.
Space them evenly around the circumference.
Alternate the lengths so that some strands hang higher while others extend farther downward.
This creates a layered, waterfall-like effect.
Step 7: Create the Hanging Loop
Attach three or four pieces of strong cord or chain evenly around the hoop.
Bring them together at the top and secure them to a sturdy hanging ring.
Before hanging your decoration, gently test the connections to make sure everything is secure.
Step 8: Add the Finishing Touches
Look over the entire wind chime and adjust the position of the beads, flowers, leaves, crystals, and bells.
Add a few extra pearl beads or small crystal accents wherever the design looks empty.
The goal is to create visual balance without making the piece feel overcrowded.
Where to Hang Your DIY Crystal Wind Chime
Garden
Hang your wind chime from a sturdy tree branch where sunlight can reach the crystals.
The faceted pieces can create colorful reflections across nearby plants and surfaces.
Front Porch
Place it near the entrance where visitors can see the colorful decoration.
Pair it with potted flowers, hanging baskets, and natural wood furniture for a welcoming look.
Balcony
A smaller version works beautifully on apartment balconies.
Choose lightweight materials and hang it where it can safely move with the breeze.
Patio
Hang several smaller crystal decorations at different heights to create a magical outdoor display.
Combine them with lanterns, plants, and warm outdoor lighting for an inviting evening atmosphere.
Sunny Window
You don’t have to keep this project outdoors.
A smaller version can be placed near a sunny window where the crystals can scatter colorful reflections throughout the room.
Tips for Making the Perfect Beaded Wind Chime
Use Faceted Crystals
Faceted beads reflect much more light than smooth beads, making them ideal for a colorful sun-catching design.
Vary the Lengths
Different strand lengths make the finished piece look fuller and more professional.
Don’t Use Too Many Colors
Although this is a colorful project, repeating a few main colors throughout the design will keep it visually balanced.
Mix Large and Small Beads
Combining different bead sizes creates depth and makes each strand more interesting.
Keep the Design Lightweight
Avoid adding too many heavy decorations to a single hoop. A lighter design will hang more easily and move naturally in the breeze.
Secure Every Connection
Use quality jump rings and carefully close each ring with jewelry pliers to prevent crystals and charms from falling.
Creative Variations
The great thing about this project is that there are countless ways to personalize it.
Rainbow Crystal Wind Chime
Use every color of the rainbow and combine them with clear faceted crystals.
Butterfly Garden Wind Chime
Replace some of the flowers with colorful butterfly charms.
Floral Boho Wind Chime
Use natural jute, wooden beads, cream pearls, dried flowers, and neutral crystals.
Ocean-Inspired Wind Chime
Create a blue and turquoise version with shells, sea-glass-style beads, pearls, and clear crystals.
Romantic Pink Wind Chime
Combine blush pink, lavender, white pearls, and clear crystals for a soft feminine design.
DIY Wind Chime as a Handmade Gift
A handmade crystal wind chime makes a thoughtful gift for many occasions.
You can customize the colors according to the recipient’s favorite palette and add charms that have personal meaning.
It is especially suitable as a:
- Housewarming gift
- Mother’s Day gift
- Birthday gift
- Garden lover’s gift
- Handmade Christmas gift
- DIY wedding or anniversary gift
Wrap it in tissue paper and place it inside a decorative gift box for a beautiful presentation.
How to Make It More Sustainable
You can also create an upcycled version by reusing materials you already have at home.
Old jewelry, leftover beads, broken necklaces, unused charms, ribbons, and decorative chains can all become part of your wind chime.
Instead of throwing away old jewelry pieces, remove the useful beads and pendants and incorporate them into a new design.
This makes the project not only beautiful but also a fun way to practice creative reuse.
Safety Tips
When making and displaying your wind chime:
- Use strong materials for the main hanging structure.
- Secure every crystal and charm firmly.
- Keep sharp wire ends covered or folded inward.
- Use pliers carefully when working with jewelry wire.
- Hang the finished piece from a strong, secure point.
- Keep heavy decorations away from areas where they could fall on people or fragile objects.
- If using outdoors, protect materials that are not weather-resistant from prolonged rain and moisture.
Final Thoughts
This DIY Beaded Wind Chime is a simple way to turn colorful beads, sparkling crystals, flowers, and decorative charms into something truly special.
Whether you hang it in a flower-filled garden, on a cozy porch, beside a sunny window, or on a balcony, the combination of colorful beads and faceted crystals creates a beautiful decorative effect.
The best part is that there are no strict rules. Change the colors, experiment with different crystal shapes, add your favorite flowers, or create a completely personalized design.
Save this idea to Pinterest and try making your own colorful crystal wind chime!